 |
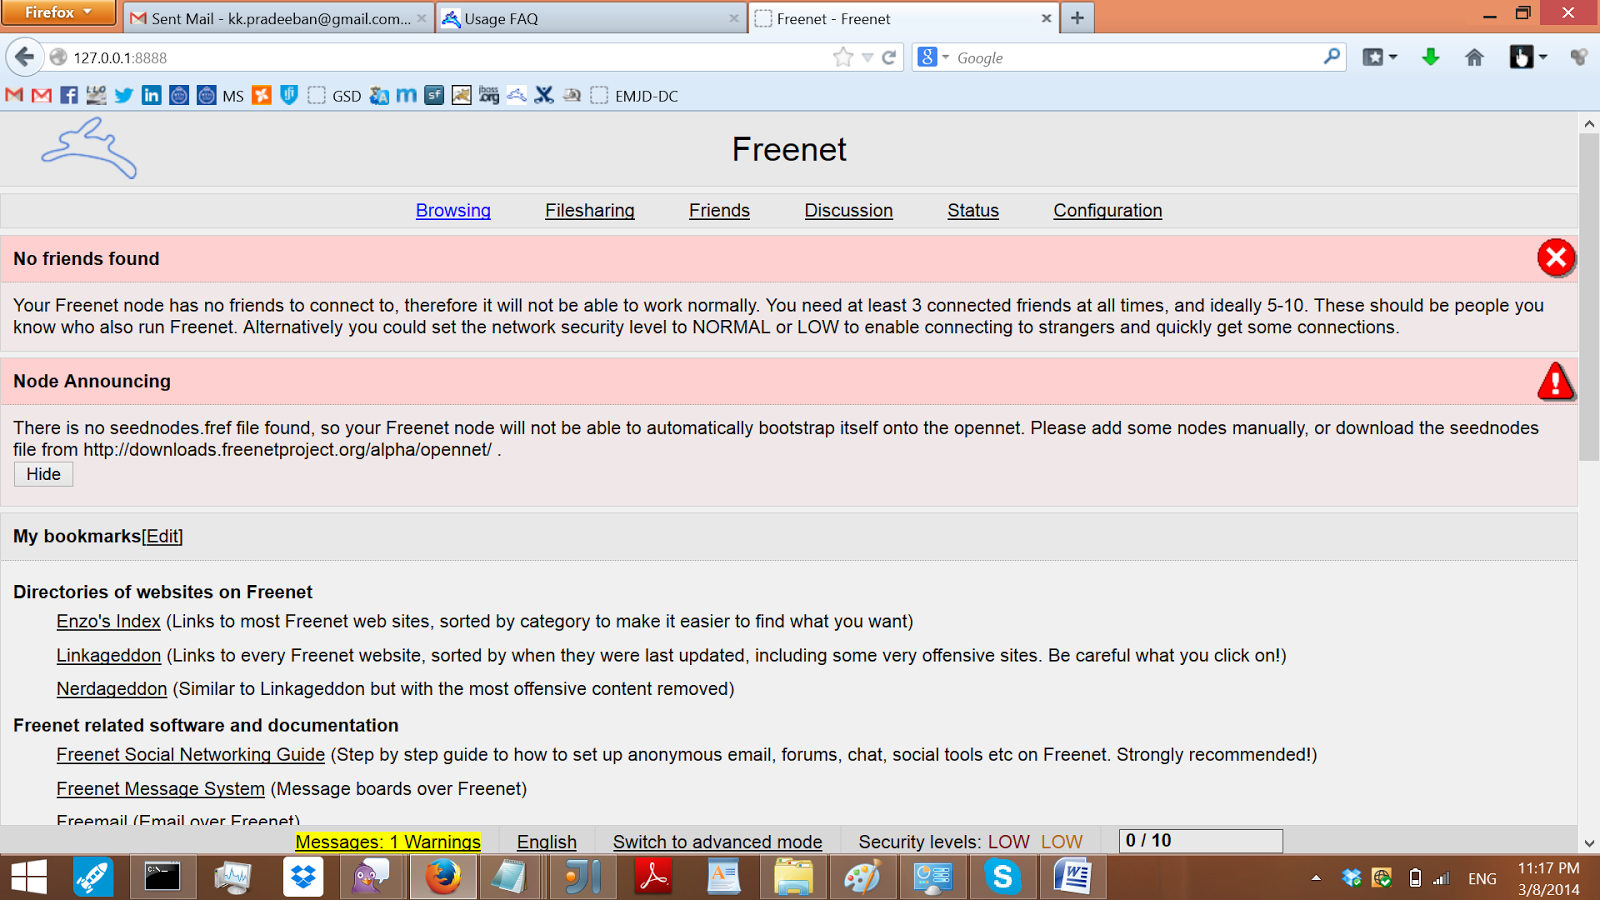
| Configuring Freenet from Firefox. |
My interest on Freenet is mostly towards its goal on the Internet Freedom. Freenet is a software that lets users use share and browse cites without the fear of censorship, while providing anonymity.
In this post, we will see how to build and use Freenet from the source in Windows 8.1. (After 5 long years, I have come back to Windows. It doesn't mean that I have forgotten Linux. I still love Linux and open source. But I hope I can contribute to the open source in different ways using Windows.)
In this post, we will see how to build and use Freenet from the source in Windows 8.1. (After 5 long years, I have come back to Windows. It doesn't mean that I have forgotten Linux. I still love Linux and open source. But I hope I can contribute to the open source in different ways using Windows.)
You need java, ant, and git for this.
First checkout the source code.
$ git clone git://github.com/freenet/fred-staging.git
$ git clone git://github.com/freenet/fred-staging.git
Rename the checked out directory fred-staging to fred and go into it.
$ mv fred-staging fred
$ cd fred
Create a file "override.properties", with the below line as the content.
lib.contrib.get=true
Download bouncy castle jar and put it into the lib directory as bcprov.jar.
Download JUnit jar and put it into the lib directory as junit.jar.
To build,
$ ant
To build, skipping the tests and documentation tasks,
$ ant -Dtest.skip=true -Ddoc.skip=true
freenet.jar is built inside the dist directory. Move it into the lib directory, and run from the lib directory using the below command,
$ java -jar freenet.jar
Now you are done. Go ahead and read the Usage FAQ to configure and start using Freenet!


No comments:
Post a Comment
You are welcome to provide your opinions in the comments. Spam comments and comments with random links will be deleted.